(Dinarian Note: If You Did Self Custody in your ledger: Be sure to use The SAME Ethereum Metamask Account That You Used When Setting Up The Flare Airdrop, It Will Make Life Much Easier Once The Airdrop Hits As Your Tokens Should Show Up Directly In Metamask. You will also want to set this up so you can transfer your tokens off the exchanges and delegate them in order to claim 100% of your rewards over time.)
MetaMask Instructions
In MetaMask, select the coloured circle in the top right hand corner of the dialog box.
Scroll down to Settings > Network > Add a network.
Network Name: Flare
New RPC URL: https://flare-api.flare.network/ext/C/rpc
Chain ID: 14
Currency Symbol: FLR
Block Explorer URL: https://flare-explorer.flare.network/
Your dialog box should look like this.

👉 If you copy and paste from the above, make sure you don’t grab any extra spaces, specifically on the New RPC Url line.
Hit “Save”, and you’re now connected to Flare Network.
Importing WFLR
To add WFLR, you’ll need to “Import Token”.
The Contract Address is 0x1D80c49BbBCd1C0911346656B529DF9E5c2F783d
Token Symbol and Token Decimal will both automatically populate with WFLR and 18.
Your dialog box should look like this.

Hit the “Add Custom Token” and you’re done!
You’ll now be able to see both FLR and WFLR when connected to the Flare Network.





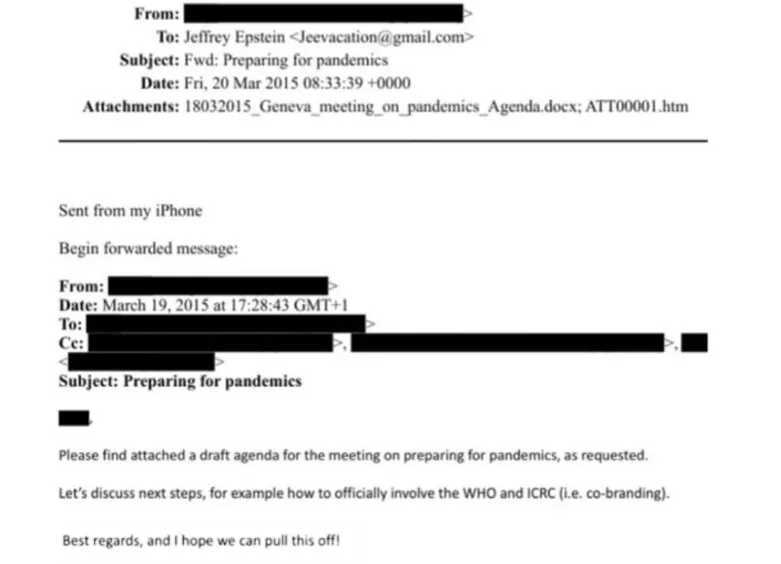
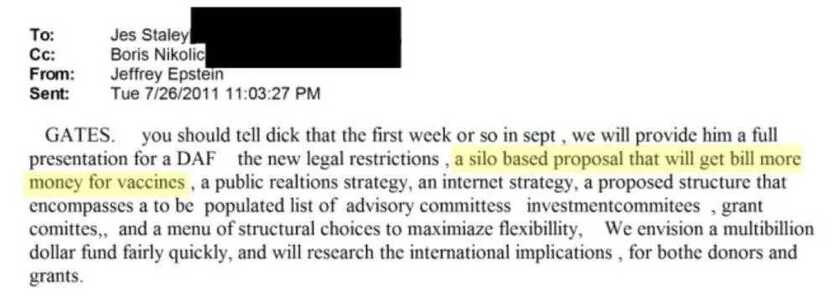
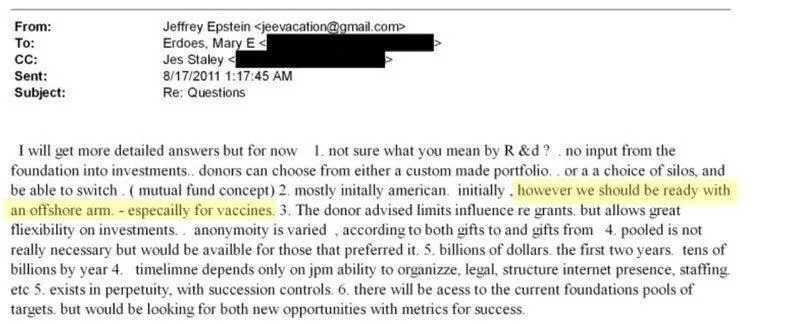

 All while Pfizer—a company with a $2.3 billion criminal fine for fraudulent marketing, bribery, and kickbacks—was given blanket immunity from liability and billions in taxpayer dollars to produce a vaccine in record time with no long-term safety data.