MetaMask is a popular crypto wallet that can connect you to different platforms for cryptocurrencies, NFTs (non-fungible tokens) and other digital assets. MetaMask distinguishes itself from other wallets with its user friendliness and simplicity. Setting up MetaMask to various blockchains is easy because the steps are short and practically the same each time.
You can connect to many blockchains other than Ethereum (ETH) simply by setting up your MetaMask wallet.
Read more: How to Set Up a MetaMask Wallet
Steps to connect to a blockchain network
- Log in to your MetaMask wallet.
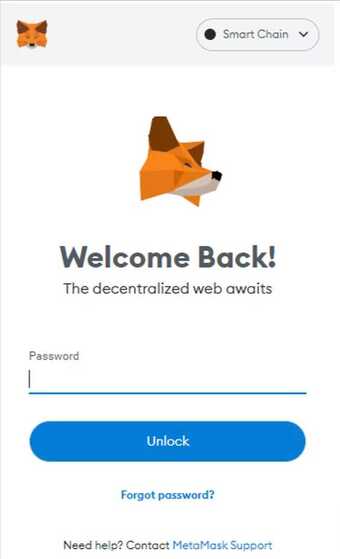
2. Go to “Settings” from the account options, which is a circle icon.
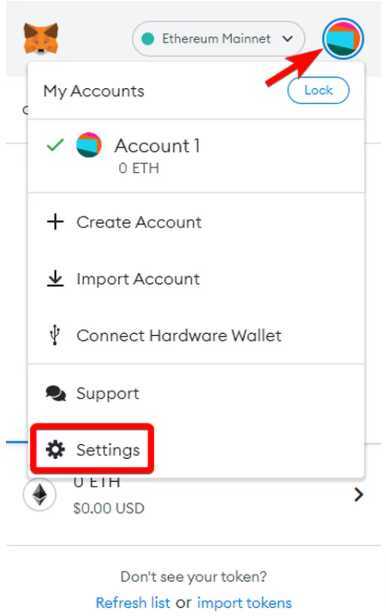
3. In settings, select “Networks.”
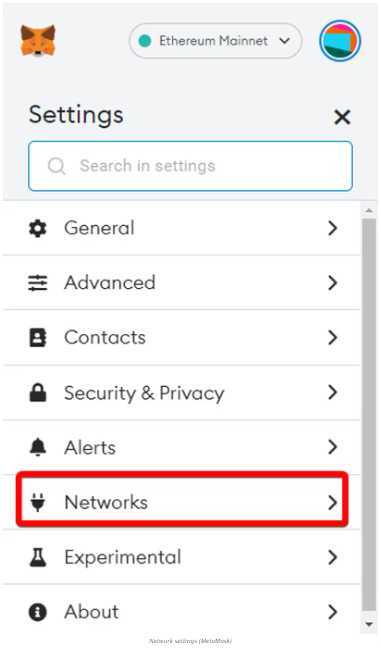
4. Press the “Add Network” button.
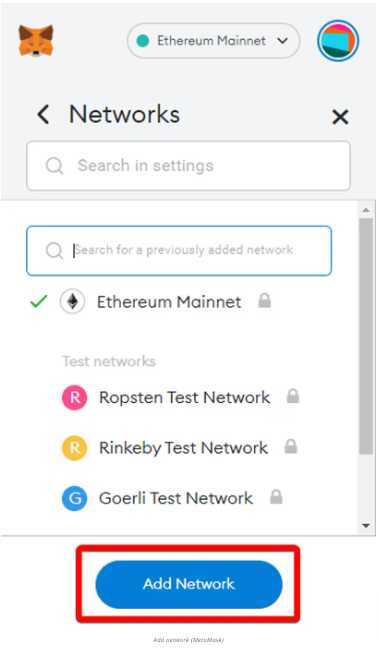
5. After pressing the button, you will access a new screen. This is the most important step because this is where you will add the information to connect to a blockchain.
Input the following information and press save:
- Network Name: You can type the name of the blockchain network, i.e. Binance Smart Chain, Polygon Network, etc.
- New RPC URL: This is the URL that MetaMask will use to access the blockchain network.
- ChainID: This the chain ID that MetaMask will use to sign transactions for the network.
- Symbol: This refers to the native token of the blockchain. For example, Binance Smart Chain’s native token is BNB or Polygon’s native token is MATIC.
- Explorer: This URL directs you to a website allowing you to evaluate your accounts and transactions. For instance, Ethereum uses etherscan.io and Avalanche uses snowtrace.io.
Or... do what I do...
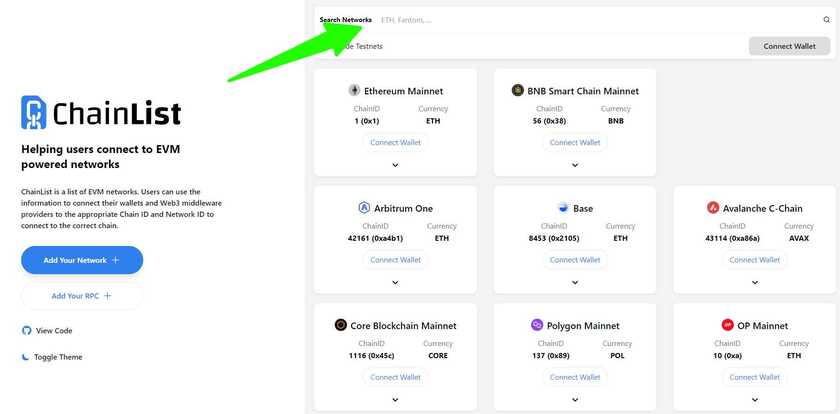
😉 Simply go to https://chainlist.org/ Connect your metamask and find the chain by using the search bar, then adding by selecting the chain you wish to add.😉







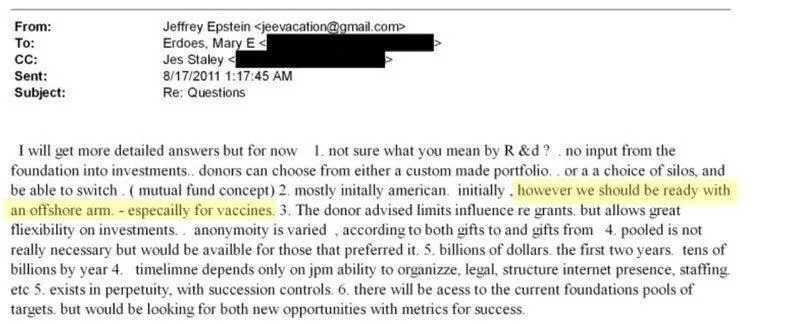

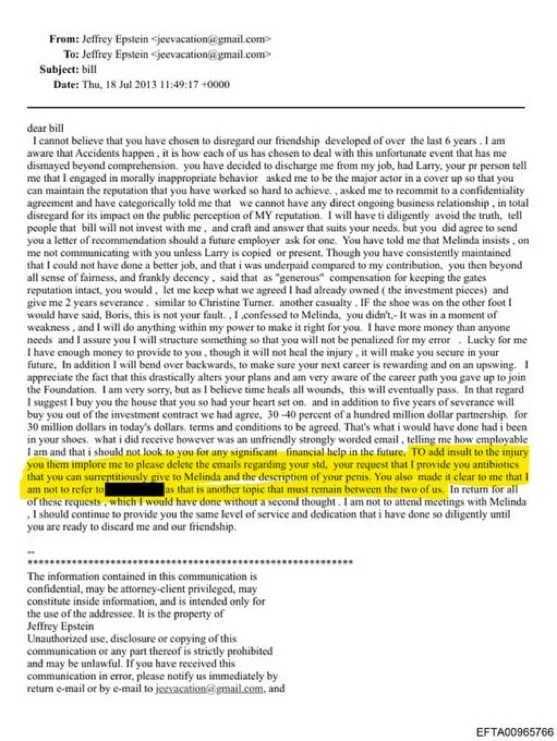
 All while Pfizer—a company with a $2.3 billion criminal fine for fraudulent marketing, bribery, and kickbacks—was given blanket immunity from liability and billions in taxpayer dollars to produce a vaccine in record time with no long-term safety data.